

Every plant has a troublesome hopper somewhere in the process. The same alarm appears, usually at awkward moments during production. Operators tap the shell, increase vibration, or poke through an inspection hatch. Flow restarts, people move on, and nothing really changes.
From a distance, the problem looks like bad luck or operator error. In reality, recurring hopper bridging is a clear message about design. The hopper tells you that powder strength, wall friction, and outlet stress are out of balance. Once you treat hopper bridging as information, you gain better options than another emergency workaround.
What hopper bridging really is
Hopper bridging, also called arching, happens when powder forms a self-supporting arch above the outlet. The material spans the opening and carries its own weight across the gap. Gravity tries to pull the arch down through the outlet. Internal strength holds it together long enough to stop the flow completely.
It helps to distinguish bridging from ratholing in silos and bins. During ratholing, a narrow channel forms above the outlet while material along the walls stays stagnant. During bridging, the arch sits directly across the outlet and blocks everything. Both problems share causes, yet they require slightly different remedies in practice.
Article: Risks of Powder Flow Obstruction in Hopper and Bin Discharge.
Three ingredients create a stable bridge at the outlet. The powder must gain enough strength under the local consolidation stress. The stress field near the outlet must be low enough that this strength dominates. The walls must provide enough friction for the arch to anchor itself. Change any of these factors, and the likelihood of hopper bridging changes with them.
Why does hopper bridging always start with the same hopper?
If bridging were truly random, different hoppers would fail on different days. When one hopper always bridges first, it points to specific local causes instead of bad luck.
Geometry plays a major role in that pattern. Many hoppers started life handling coarser or drier materials than today. Over time, finer grades, recycled streams, or more cohesive blends entered the same hardware. Outlet diameters that once handled free-flowing powders became too small for cohesive ones. Hopper half angles that once approached mass flow slipped into funnel flow territory.
Wall friction slowly increases as equipment ages in service. Liners wear, welds protrude, and surface roughness grows near the outlet region. Slight caking also appears on unpolished surfaces. Each change raises friction and makes it harder for the material to slide. The hopper that always bridges first often has the roughest or most damaged surface where it matters most.
Stress patterns inside the vessel add another layer of explanation. The troublesome hopper may sit under the tallest column of material in the system. It may receive eccentric filling that pushes powder harder against one side. It may hold material at a high level for long periods between discharges. Those conditions increase consolidation and promote arch formation at the outlet.
Powder history finishes the picture in many cases. Certain hoppers receive a larger share of recycled fines, slightly moist returns, or still warm material. These streams tend to gain cohesion faster than fresh feed. When that history feeds the same hopper every time, its contents gain additional strength. That strength pushes the hopper into a different window than similar vessels elsewhere. The result is predictable hopper bridging at that single location.
Listening to the bridge instead of kicking steel
The bridge itself contains information, even when you cannot see it directly. You can recover that information through simple questions and a small amount of testing. The aim is not a perfect model, just a clear diagnosis.
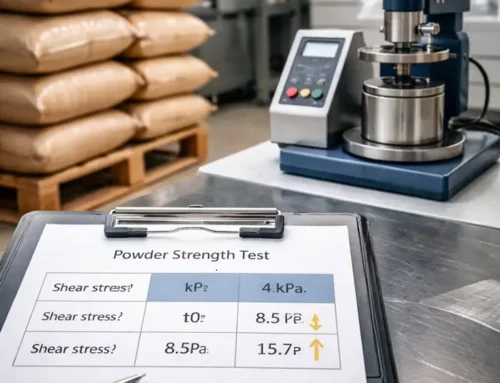
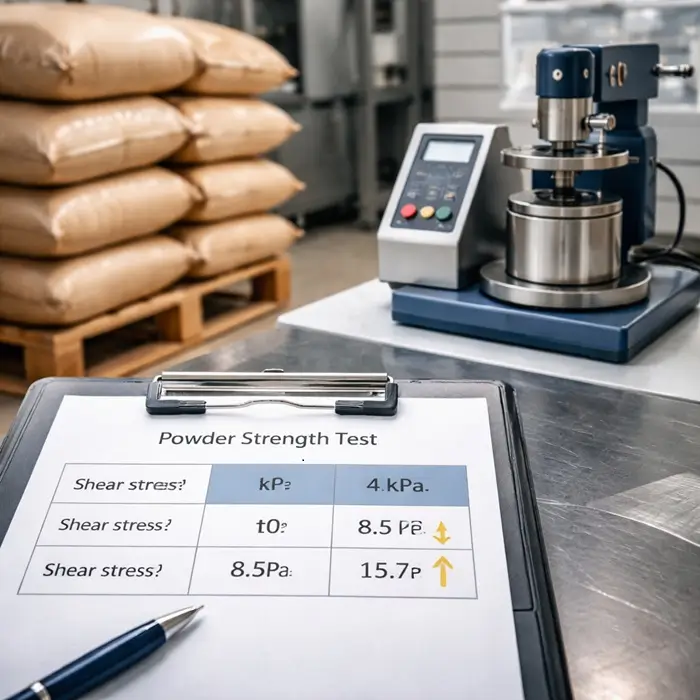
First, compare the outlet size against available powder flow data. If you have a powder flow function from shear testing, estimate the minimum outlet diameter for mass flow. Many cohesive powders require outlets significantly larger than the simple rules once suggested. For example, the flow function may indicate a minimum outlet of 300 millimeters. If the hopper was built with 180 millimeters, frequent arching is almost guaranteed.
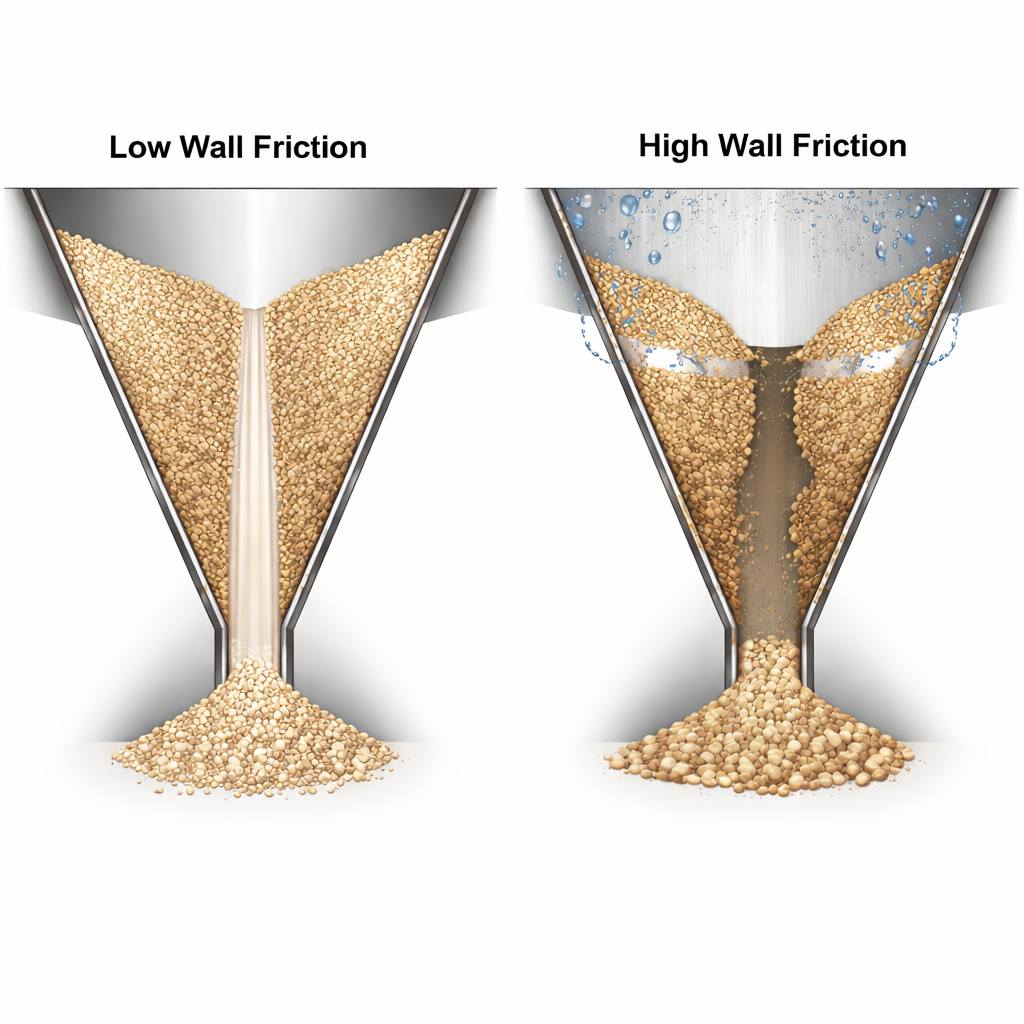
Second, consider wall friction and hopper angle together. Wall friction tests on actual steel or liner samples show which wall angles support mass flow. If the installed cone is much shallower than the test results suggest, the material will prefer funnel flow. In that regime, stress at the outlet remains low enough for bridging. Flow can stop even when the vessel looks full.
Third, examine the condition of the powder exactly where bridging occurs. Check storage time, moisture history, and temperature at that point in the process. Material that rests too long, cools slowly, or experiences humidity swings will often strengthen. That extra strength appears exactly where the arch forms and stabilizes the bridge.
These three checks turn a vague complaint into a structured picture. They reveal whether the dominant driver is geometry, surface condition, powder history, or some mix. That insight supports better decisions than another vibratory device bolted to an already stressed shell.
Check out: ultimate guide to powder flow and flowability testing
What to change and when to change it
Not every bridging hopper needs major surgery, although some certainly do. The right response depends on how often bridging occurs and what happens when it does.
A redesign becomes hard to avoid when hopper bridging affects safety, critical dosing, or major uptime. If tests show that the outlet is significantly undersized for current materials, the geometry must change. Increasing outlet diameter, steepening the hopper cone, or installing a low-friction liner are common solutions. These projects look painful in planning, yet they often pay back quickly through stable flow and fewer interventions.
In other cases, process changes can bring the hopper back into a workable window. Campaign planning can keep the most cohesive products away from the most vulnerable geometry. Level limits can restrict the maximum head of material above the outlet. Adjusted discharge sequences can reduce the time that material spends consolidating above the outlet zone. Careful aeration or fluffed discharge beneath the arch can also reduce strength without scattering fines everywhere.
Behavioral measures have limits because they rely on people and discipline. They still offer value where the hopper only sees occasional difficult campaigns. They also help while you prepare more permanent engineering changes with proper data and justification.
From annoyance to design input
Hopper bridging will never disappear from the world of bulk solids. Cohesive powders, humidity changes, and stop-start operation ensure that. The important shift lies in how you interpret the recurring event.
When one hopper always bridges first, it acts as a sensitive probe of your system. It tells you where powder strength, wall friction, and stress fields fall out of balance. If you listen carefully, that signal guides better designs for future hoppers and silos. Flow problems then move from late-night problem-solving to deliberate engineering work. Check out the handling and processing guide.


